Assign Proxies
Assigning a Proxy Using the Proxies Tab in MeetingPal
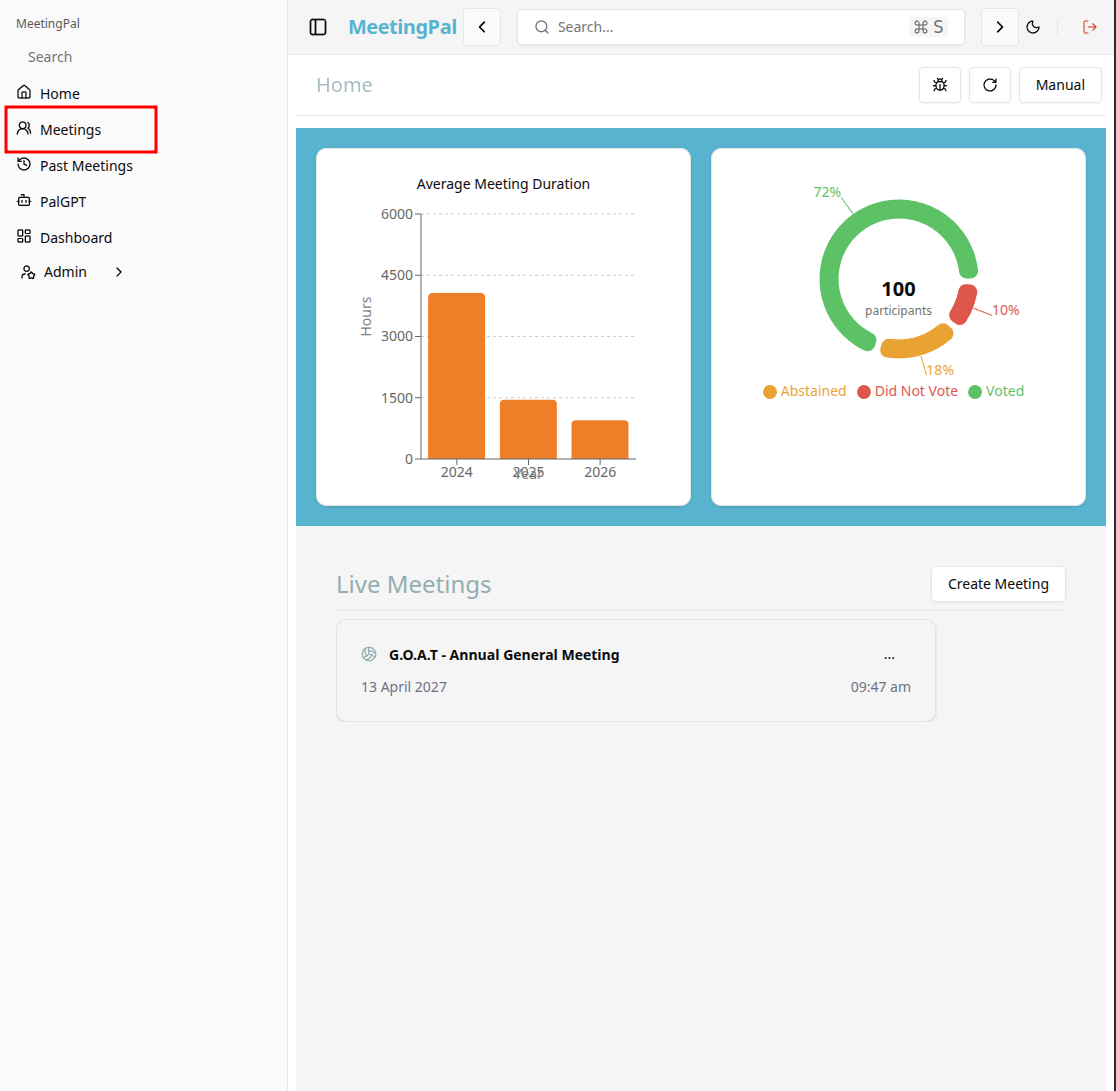
Access the Scheduled Meeting
On the MeetingPal Home Page, locate the left-hand menu. Select Meetings.
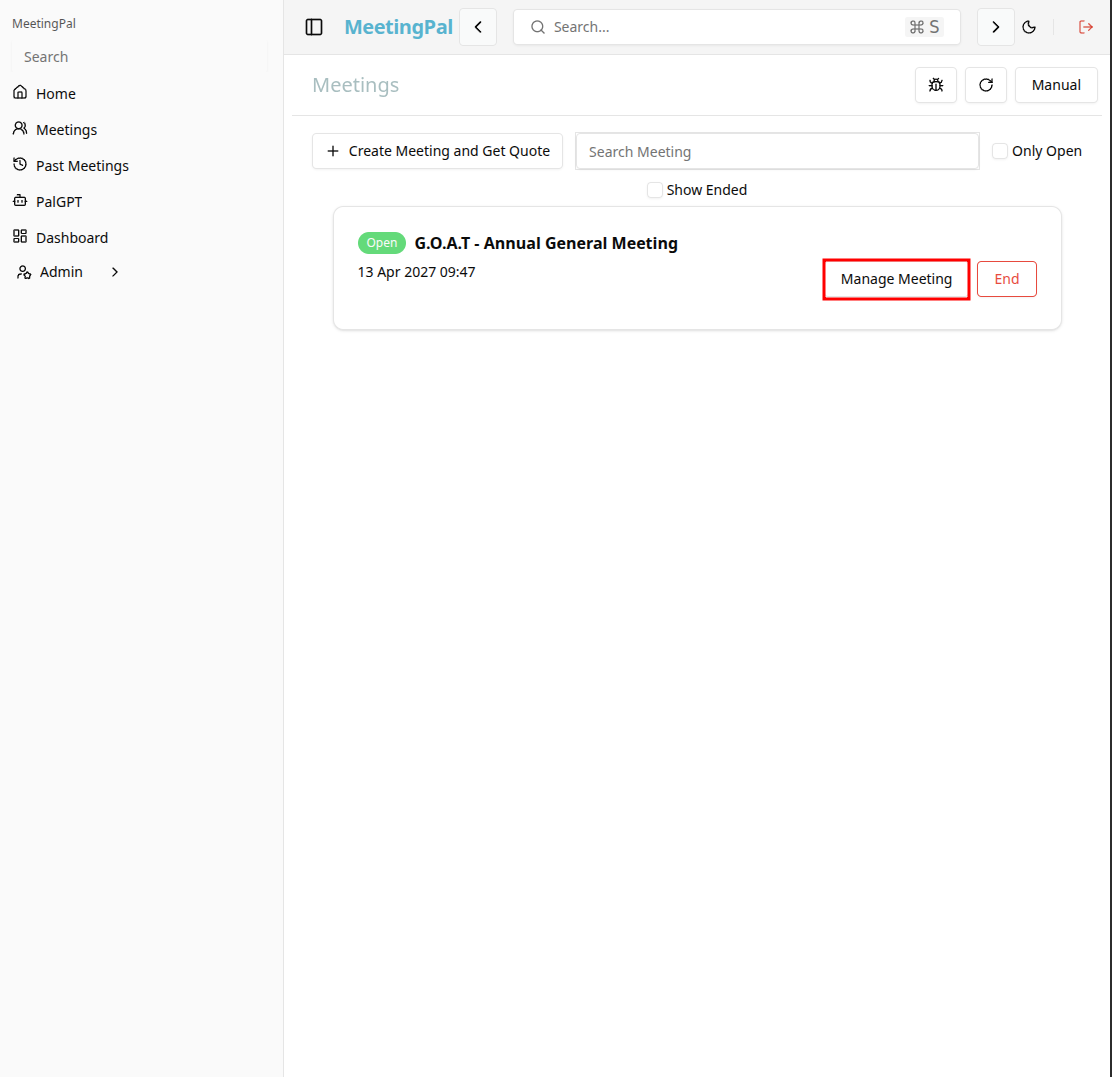
Start editing the meeting
In the meetings page ,you will see all your meetings and the meetings that you are scheduled to attend.
Click on the 'Manage Meeting' button to begin editing the selected meeting.
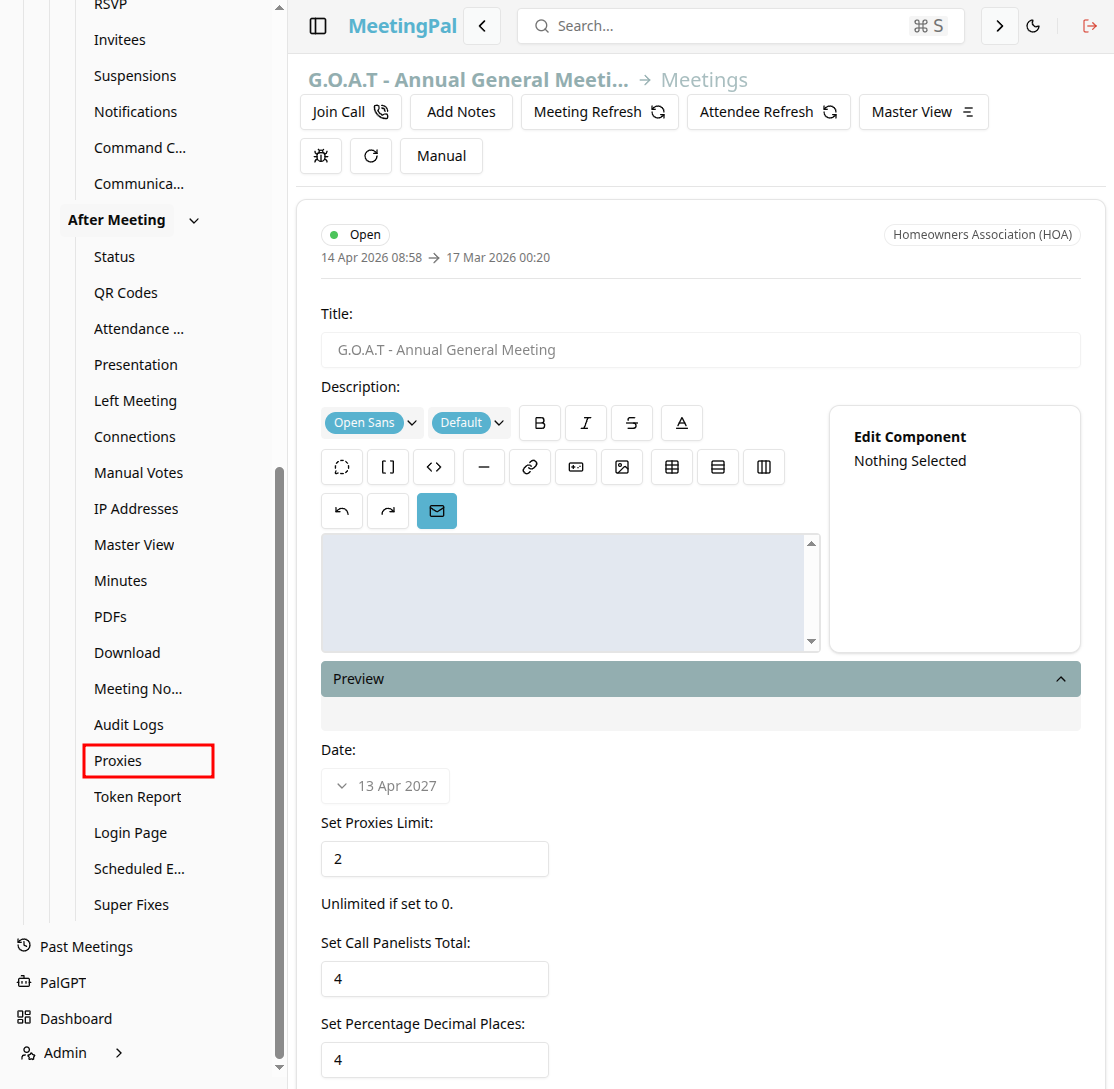
Open the Proxies Tab
In the selected meeting’s dropdown menu, click Proxies.
The Proxies Page will open, displaying all existing proxy assignments for the meeting.
Add a New Proxy Assignment
On the Proxies Page, click the Add Proxy or New Proxy Assignment button.
A proxy assignment form or pop-up window will appear.
Select the Member Granting the Proxy
In the Member or Granting Member field, select the attendee who will assign their proxy.
Use the search or dropdown options to quickly locate the correct attendee.
Select the Proxy Holder
In the Proxy Holder or Assigned Proxy field, select the attendee who will act as the proxy.
Depending on your meeting configuration, you may also be able to:
- Set proxy voting permissions.
- Limit proxy rights to specific agenda items or resolutions.
- Add notes or comments related to the proxy assignment.
Configure Proxy Settings
Depending on your organization’s settings, additional options may be available.
You may be able to configure:
- Proxy voting permissions.
- Expiry or validity dates.
- Resolution-specific proxy access.
- Attendance or quorum participation settings.
Ensure all settings are reviewed before saving.
Save the Proxy Assignment
Once all details are completed, click Save Proxy, Assign Proxy, or Confirm.
The proxy assignment will now appear in the Proxies list.
Review the Proxy Assignment
After saving:
- Confirm the correct member and proxy holder are displayed.
- Verify that voting permissions and restrictions are accurate.
- Ensure the proxy assignment applies to the correct meeting.
- Edit or remove the assignment if changes are required before the meeting begins.
Important Notes
Proxy assignments allow one attendee to vote or participate on behalf of another attendee.
Proxy permissions may depend on your organization’s MeetingPal configuration and meeting rules.
Some meetings may restrict who can act as a proxy holder.
Proxy assignments can usually be edited or removed before voting begins.